How to setup and configure ISO
- Denis Kozadaev
- Former user (Deleted)
Important note
This is a demo ISO that intended to be used for tests and demonstration of the ZFS capabilities only. Use it at your own risk with no any warranty.
DO NOT USE this ISO in production as well as for critical infrastructure systems!
System requirements
To be used efficiently, the software needs follow hardware components:
- 2 CPUs (or more)
- 2 GB RAM (4GB or more is highly recommended)
- 2 Hard Disk Drives (or more for raidz)
- Network interface
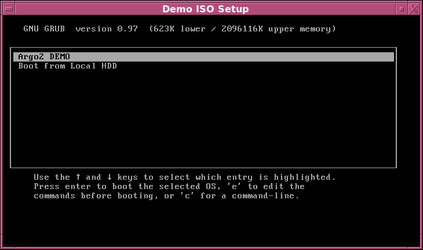
To work with this demo, download an ISO image called demo-XXXXX.iso from https://apt.dilos.org/isos/argo/. Burn the image to CD / DVD media or connect the file to a VM (virtual machine) and boot from it. If the VM boot process is successful, you will see the GRUB menu:
To continue, press enter or wait a bit until the system boots up and you will see the initial login screen:
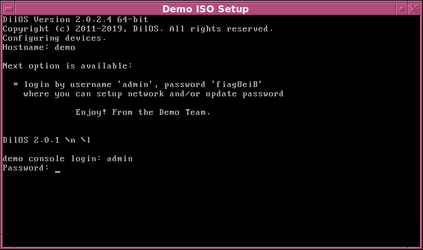
Enter the username “admin” and the password that displayed on the initial login screen (in our example, the password is “fiag8eiB”). If authentication is successful, you will be taken to the setup menu:
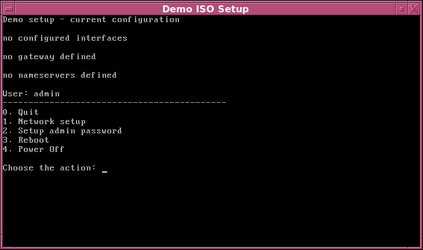
You can configure the demo system using this menu. To continue, you must specify the network settings. To do this, type "1" and press Enter:
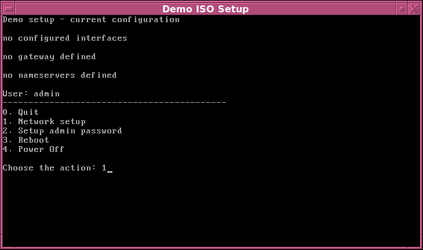
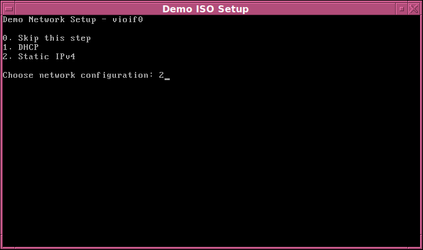
If there is only one network interface in the system (known to DilOS), you will see the menu for selecting the IP address assignment mode:

If several network interfaces (known to DilOS) are installed on your system, they will be displayed on the screen and are available for configuration. To return to the main menu, type "0"; to use DHCP, select "1"; To configure a static IP address, select “2”. This example uses a static address.
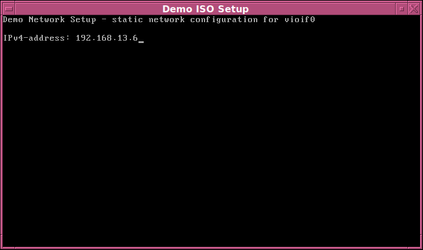
Enter an IP-address:
... netmask and gateway of the subnet:
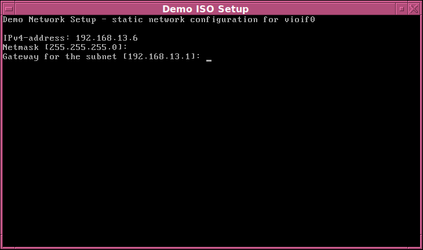
By default, the netback is always 255.255.255.0, but you can change it, or just hit enter. Take the same action for configuring gateway (first address of the network, by default).
Confirm your setup by pressing Enter:
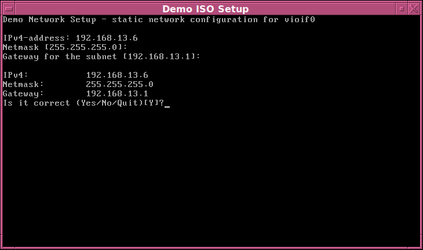
Upon successful completion of this configuration step, the system will display the current network interface settings:
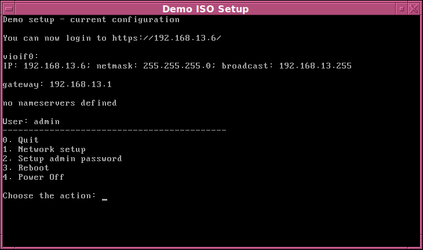
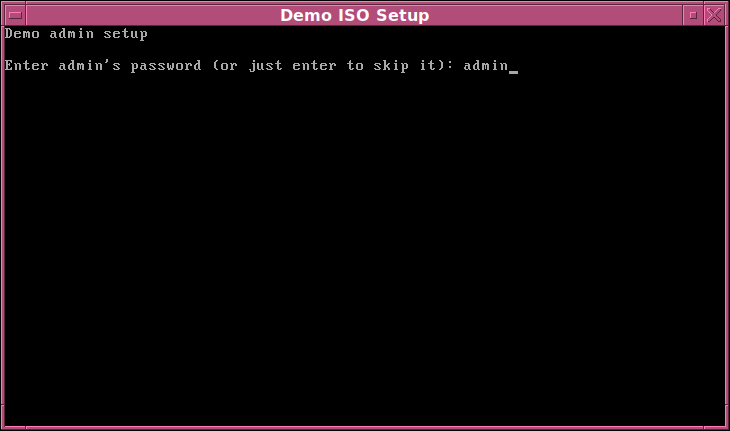
To access the Web Management System, you can use the Administrator password specified on the initial login screen, or change it to your own. To change the password, press 2:

and enter a new admin's password:
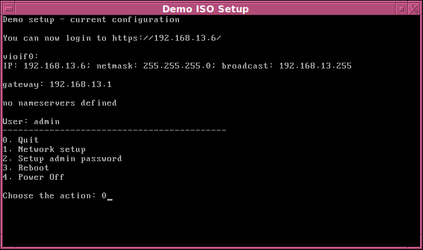
To complete the demo configuration, select "0":
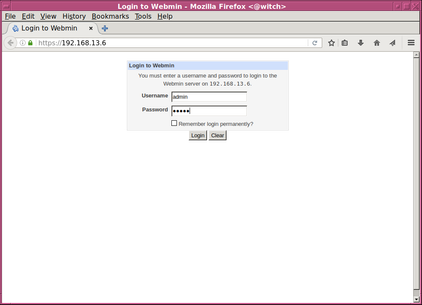
To access the Web Management System, open your browser and enter the IP address configured on previous steps in the URL field (https: // "IP"). For login use the admin user and password:
Now learn How To work with ZFS file systems and How To work with datapools in separate docs.
DO NOT REBOOT the system! Otherwise your configuration will be lost.