How To work with ZFS file systems in Webmin
Important note
This is a demo system that intended to be used for tests and demonstration of the ZFS capabilities only. Use it on your own risk with no any guaranties.
DO NOT USE this ISO in production as well as for critical infrastructure systems!
Warning
Before using this manual, make sure that the system has a zpool (datapool) available for ZFS operations described below. To create a datapool, please use appropriate instructions from separate manual HowTo work with datapools. We assumed that datapool data was previously created in the system.
Open your favourite browser and type following URL: https://IP_ADDRESS, where IP_ADDRESS is a real address of your system.
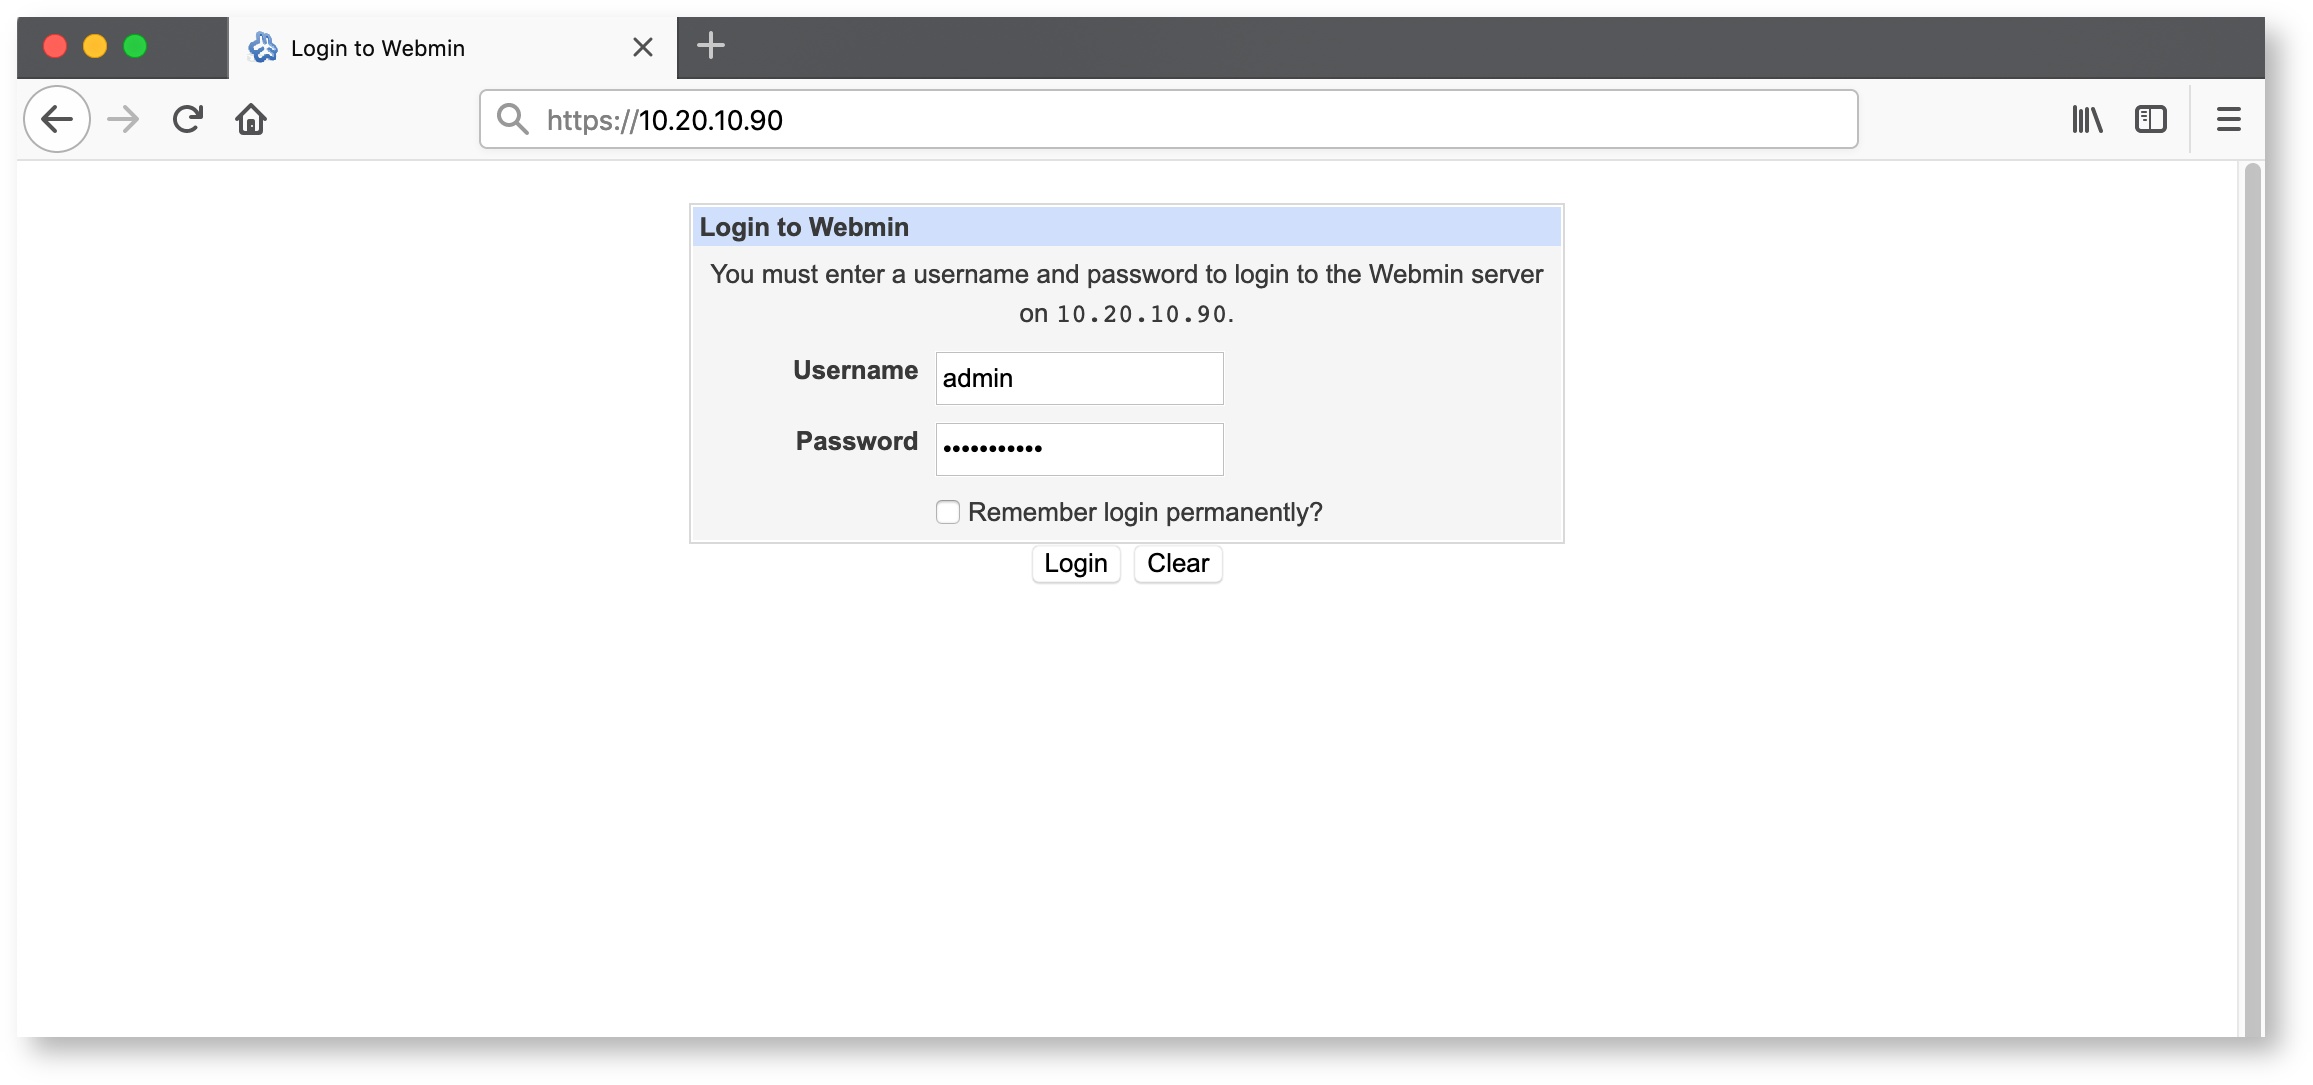
Login to the Argo Web Management System using your credentials.
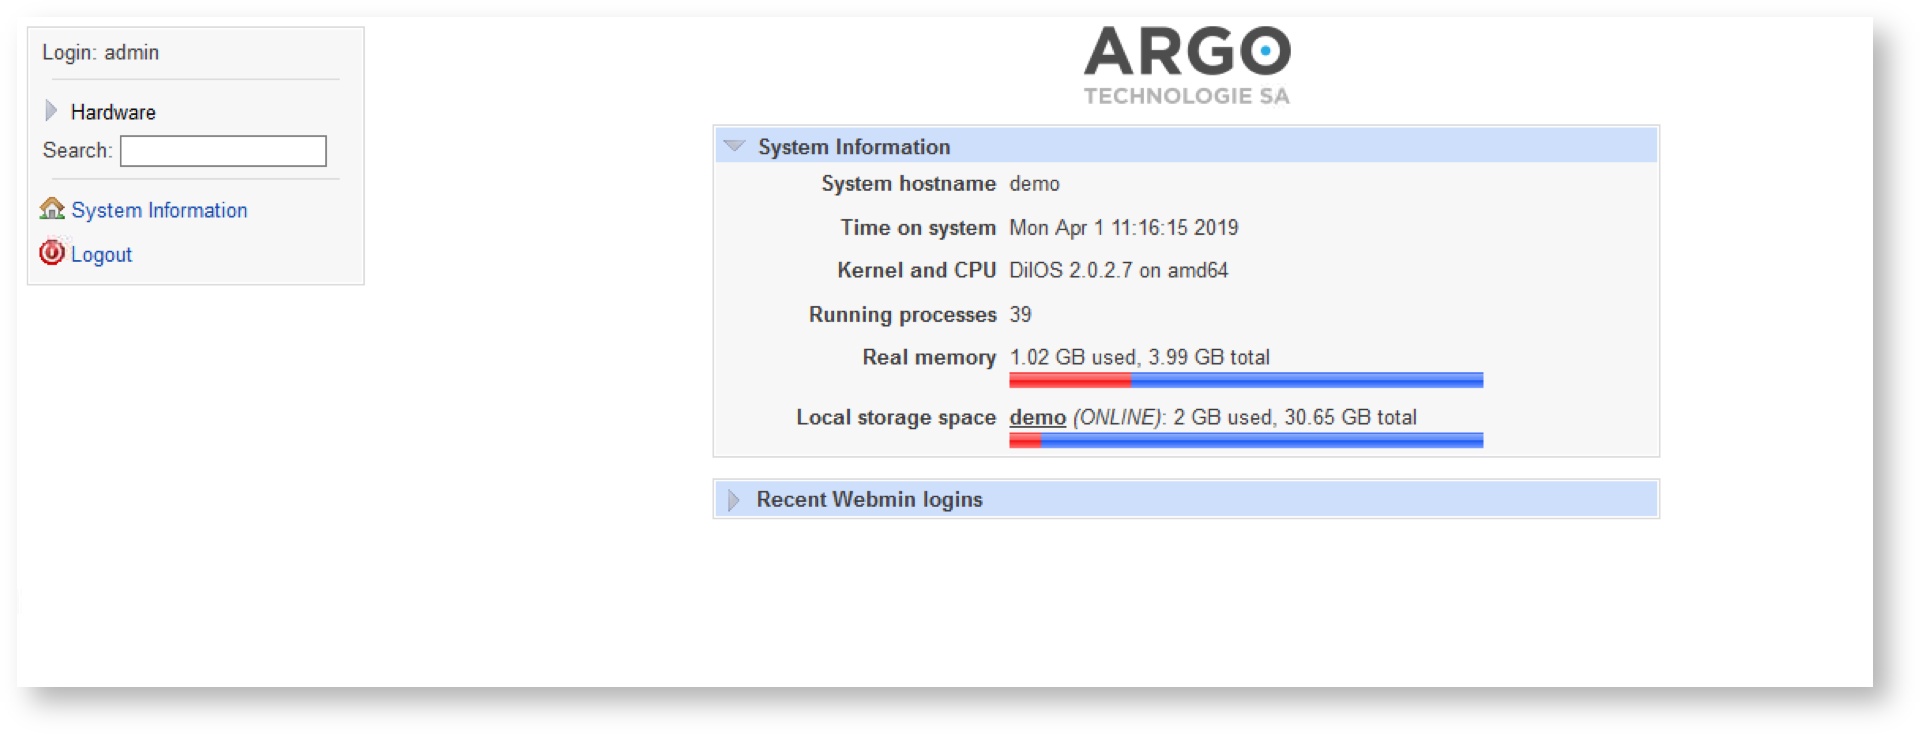
You will see the status page with details of the system, where this Argo Web Management System's installed. Left frame shows categories and modules available for operations.
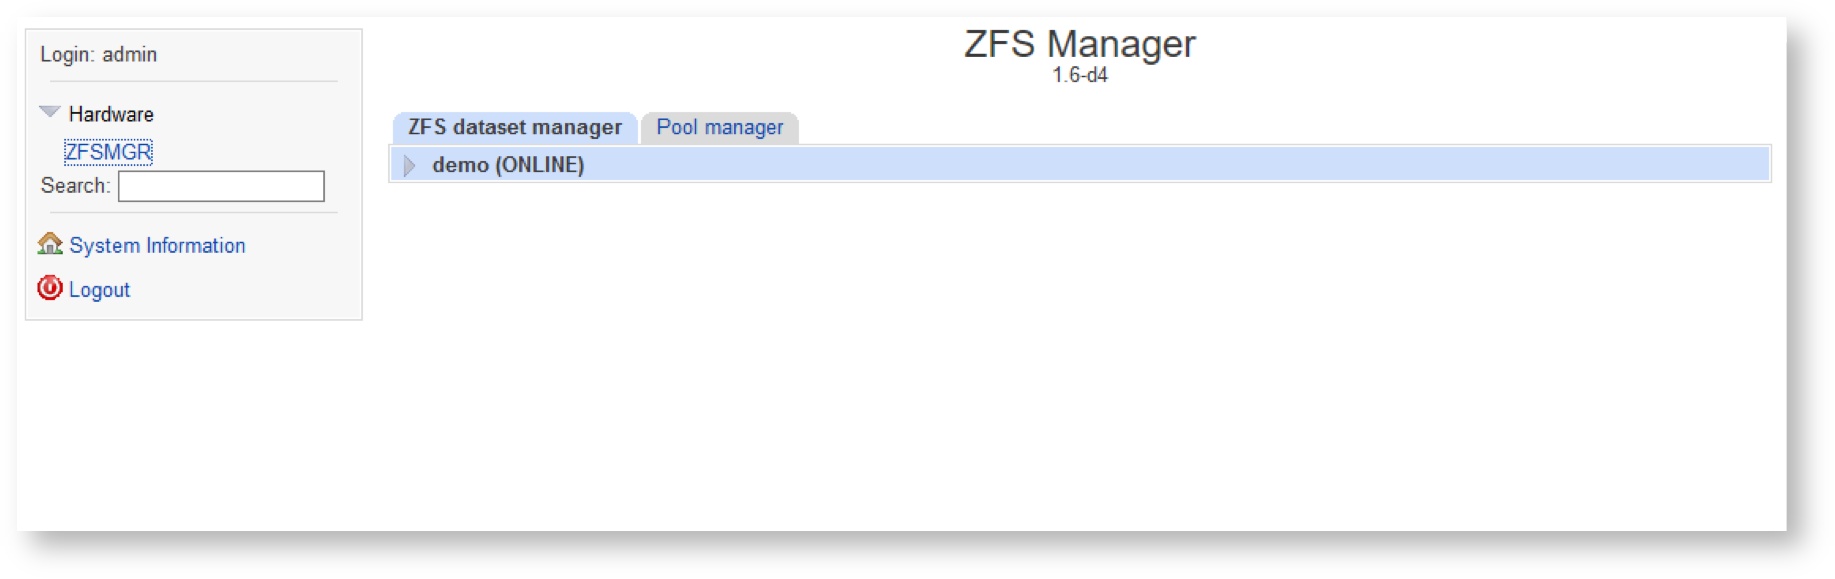
Expand the Hardware spoiler and click the ZFSMGR link. You will be redirected to the module which was designed to manage disk pools (zpools) and ZFS file systems (datasets), that can be created on these disk pools. For switching to desired operation, there are 2 tabs with corresponding names presented in the central frame of the window.
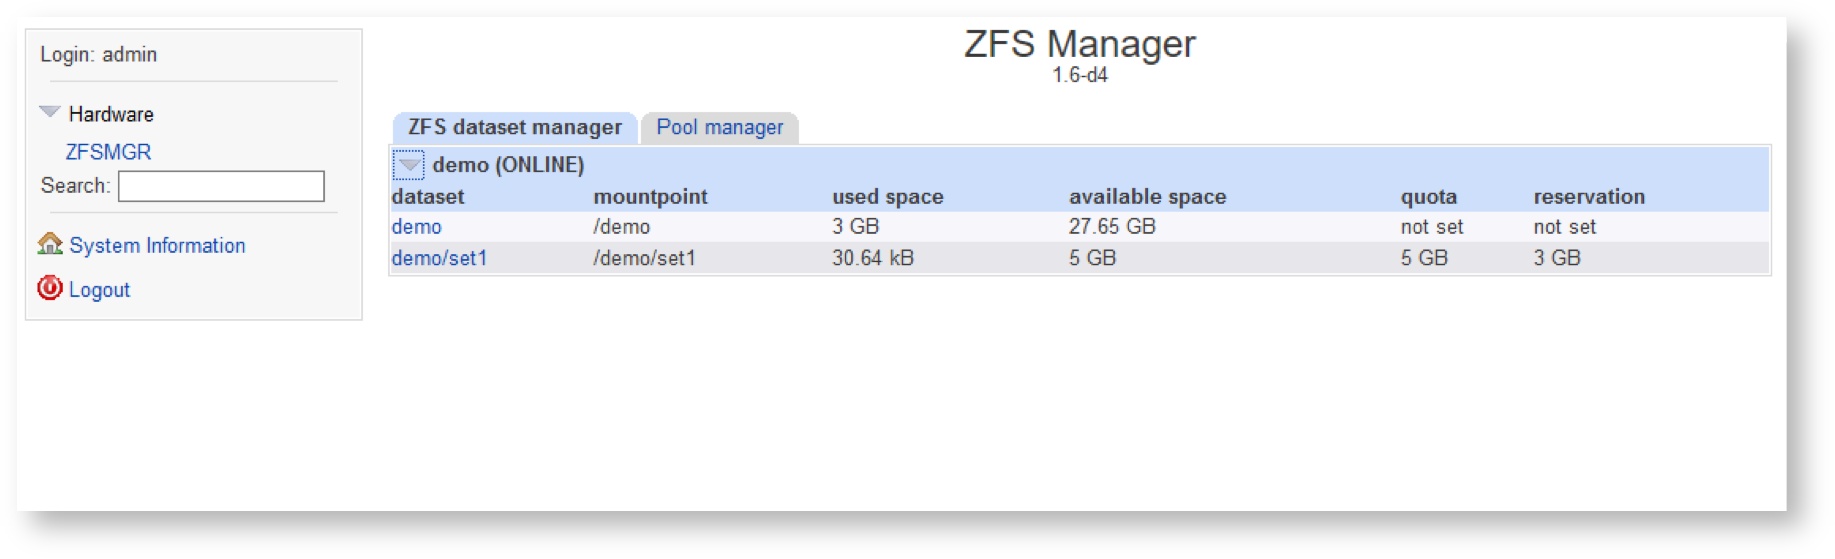
To manage datasets, select the ZFS Dataset Manager tab. A list of available disk pools that are allowed to create ZFS file systems is displayed in the working area of the tab.
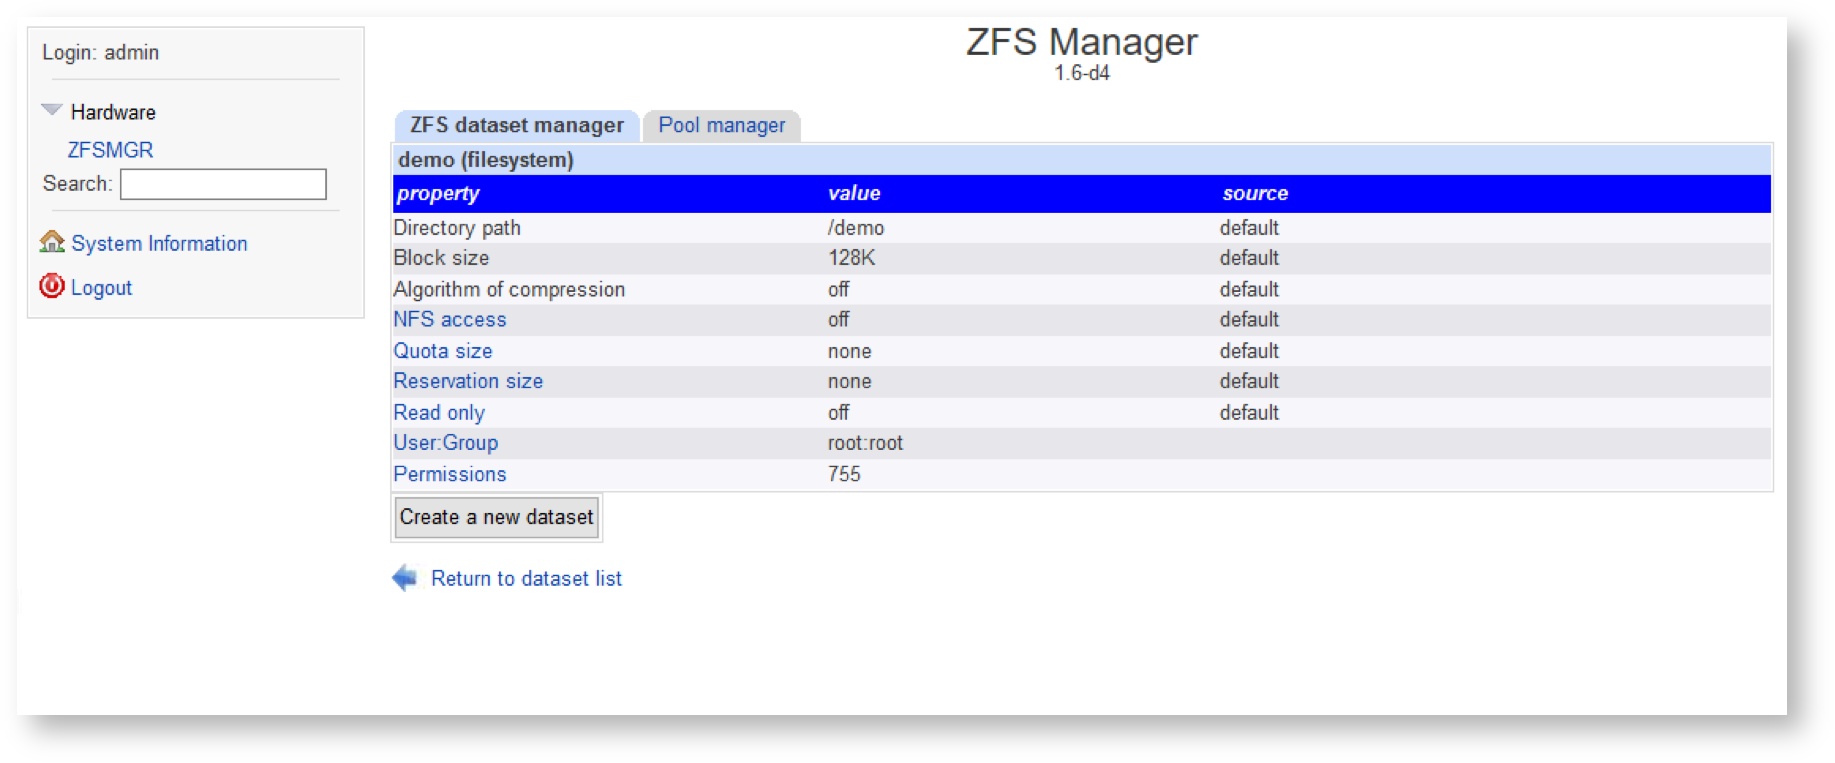
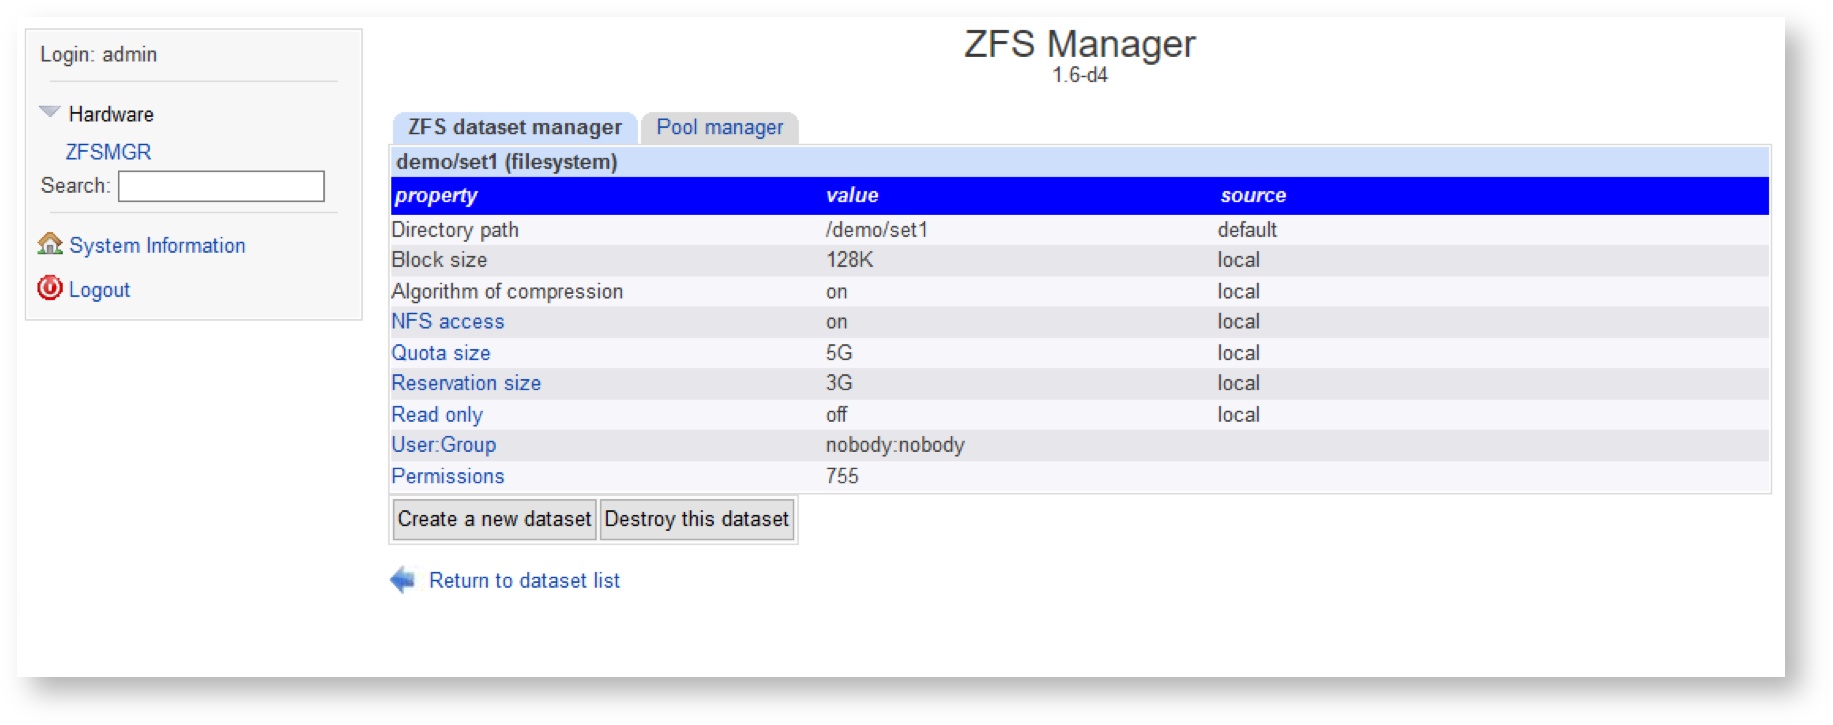
You can check the current status of ZFS datasets on the system by expanding spoilers with storage pool’s name and clicking on certain dataset.
Note
The first dataset in the ZFS hierarchy is a “root” dataset with the same name as storage pool’s name. Clicking to this dataset you can find the default values, that can be inherited when the new datasets are created above of this storage pool
To create a new dataset click the “Create a new dataset” button below the list.
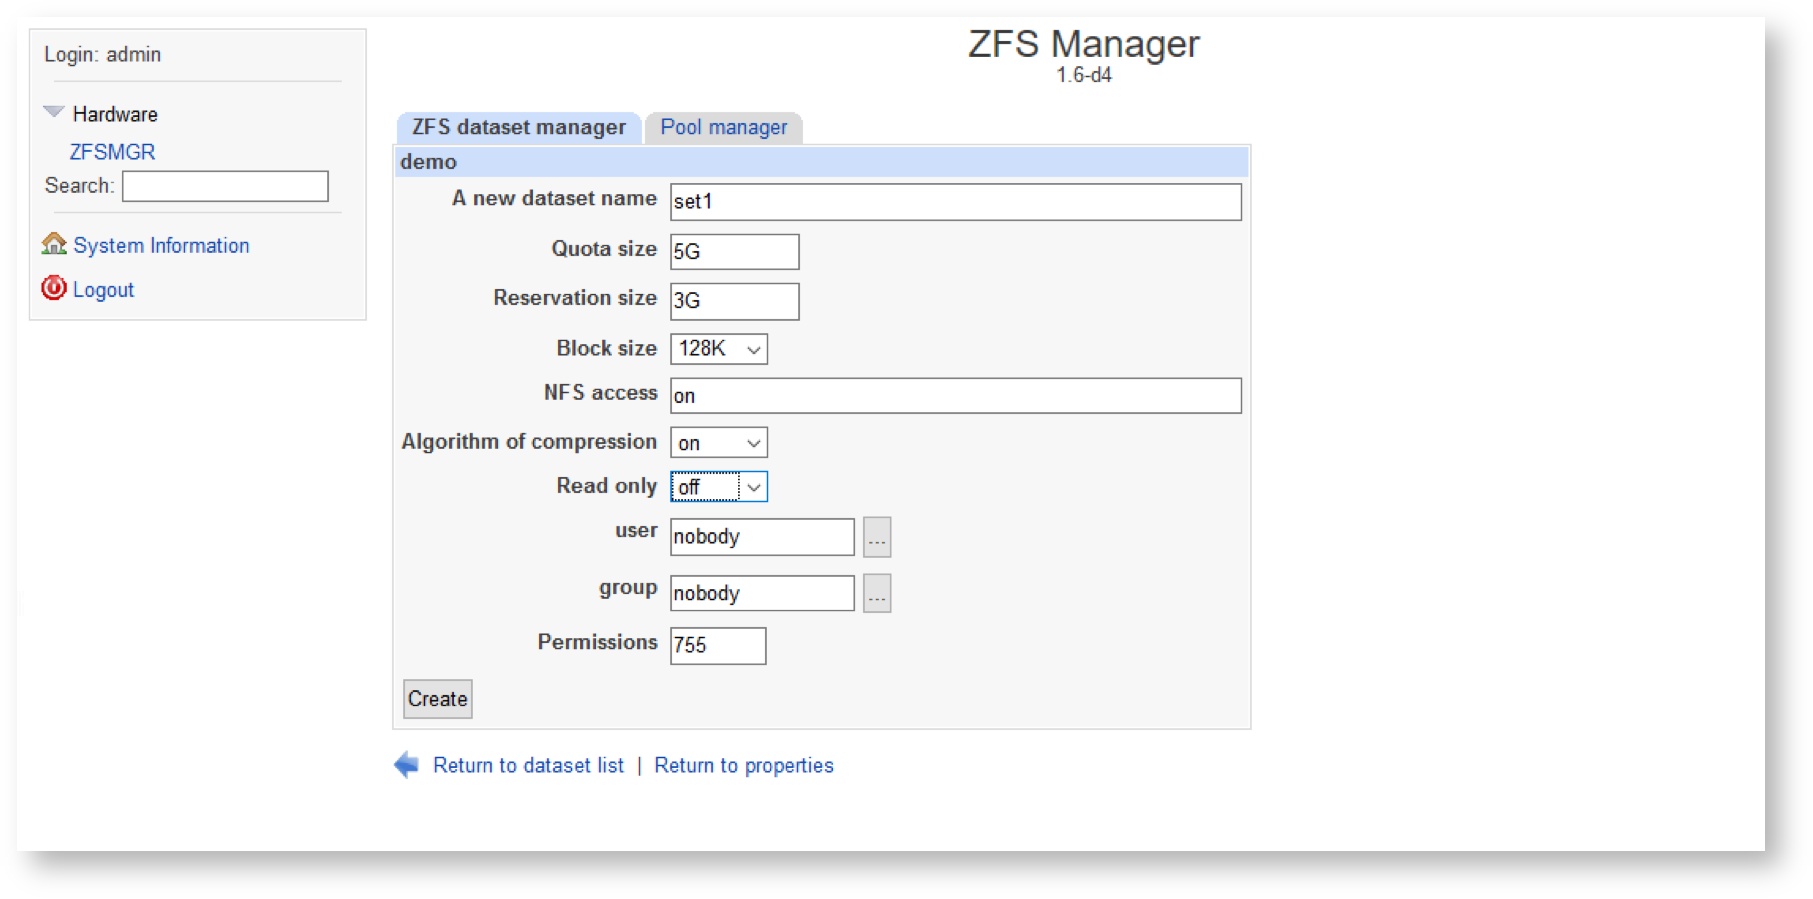
Configure the desired parameters you’d like to setup for the new dataset.
The following table describes fields on this page:
| Property | Description |
|---|---|
name | Unique name of the dataset |
Quota size | Limits the amount of space a dataset and its descendants can consume |
| Reservation size | An allocation of space from the pool that is guaranteed to be available to a dataset |
Block size | Specifies a suggested block size for files in the file system |
NFS access | Controls whether the file system is shared via NFS, and what options are used when sharing. |
Algorithm of compression | Controls the compression algorithm used for this dataset. |
Read only | Controls whether this dataset can be modified. |
user | Set the owner user for the dataset |
group | Set the owner’s group for the dataset |
Permissions | Dataset directory mask |
Note
- At the moment only user “nobody” and group “nobody” are supported for the correct operations on the datasets. Setting other users and groups than mentioned may break access to the dataset and result the data unavailability.
- When using the Reservation size property, the specified amount of disk volume is guaranteed to be assigned for the current dataset. At the same time, the total available disk space for other datasets in this disk pool is reduced by the size specified in the field. This parameter does not restrict the amount of data that can be written to dataset, but only reserves specified resources on it. To set limits on the size of data written to a dataset, use the Quota size size option.
- When using both Quota size and Reservation size properties, the value specified in the Reservation size cannot be greater than the value specified in the Quota size. If the parameter Reserved volume is not set (set to none), the free disk space in the current pool is allocated dynamically and available for usage by all datasets in system.
- You can use your own parameters or inherit them from the upper dataset in hierarchy.
- If sharenfs feature is “ON” (or nfs options are configured), you can access this NFS share with the path: server_name_or_IP:/storage_pool_name/dataset_name .
After finishing the configuration of the dataset, press the “Create” button at the bottom of the parameters list. Ensure that all parameters for the newly created dataset are configured correctly.
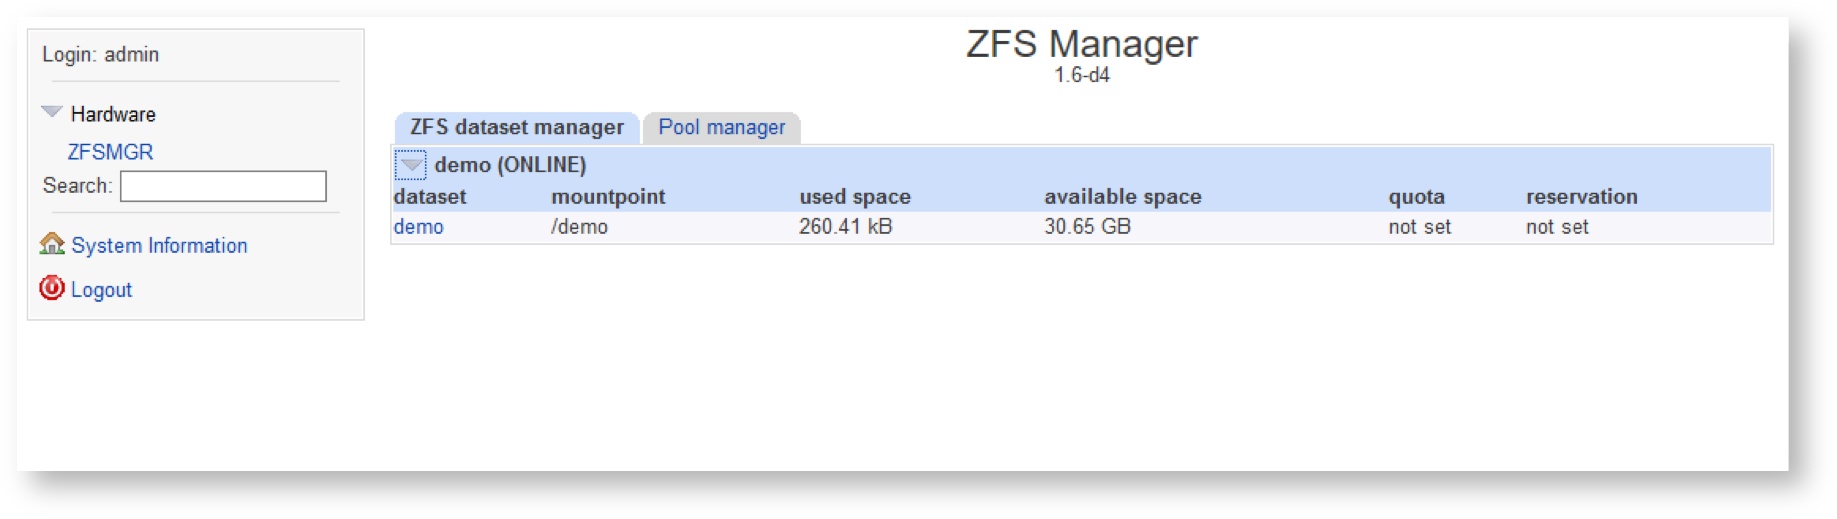
Click “Return to dataset list” and check that this dataset exists in the list:
Anytime, you can change most of dataset parameters by clicking on dataset name, then clicking on appropriate property, set up the new value and click the Update button next to parameter value.
In example below, dataset will be switched to read only mode:
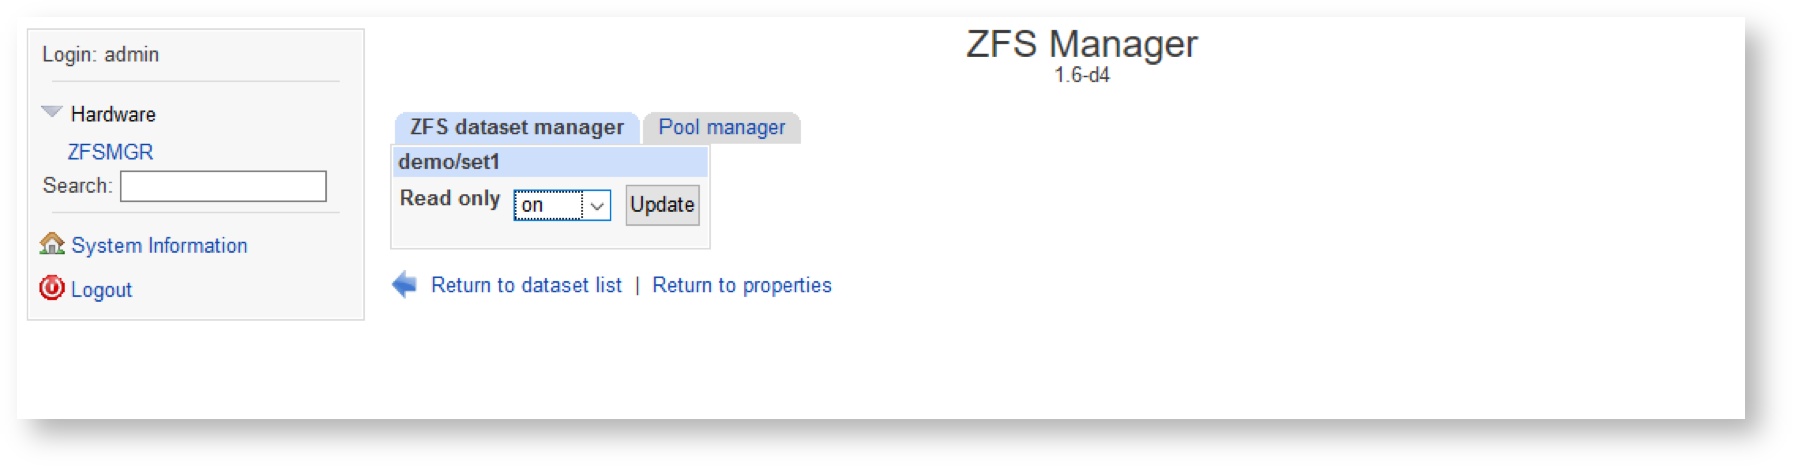
Ensure, that new value is set for the Read only property.

If you wish to delete dataset, select it on the list and click the “Destroy this dataset” button, located below the list of its properties:
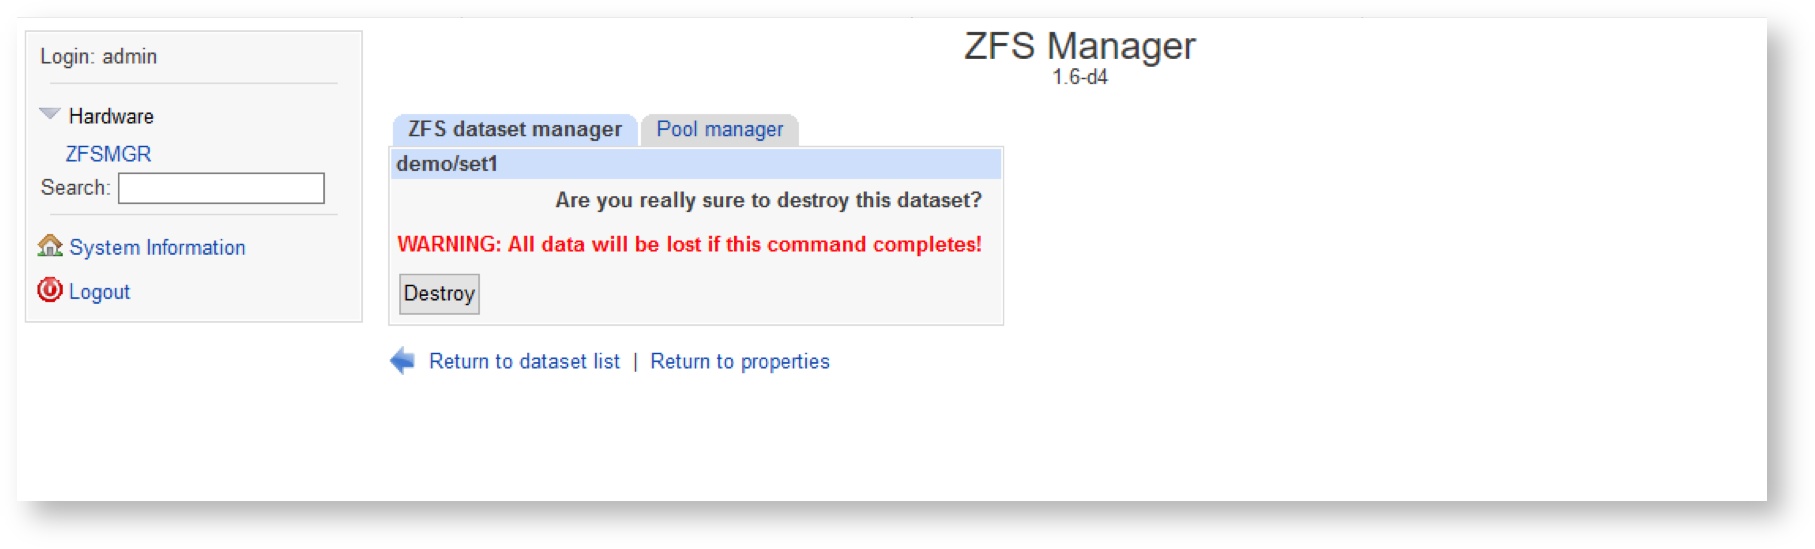
- Be careful and ensure twice what you do and on what dataset
- This is very destructive operation: all the data will be deleted along with the dataset.
- No way to restore data after deletion!
Check the notice careful and press “Destroy” once more if you agree and understand the consequences of this operation
Dataset will be deleted. Ensure that it is not shown on the storage pool’s view
Enjoy working with ZFS manager tool!