How to install DilOS on Proxmox*
*- Proxmox Virtual Environment is an open source server virtualization management solution based on QEMU/KVM and LXC.
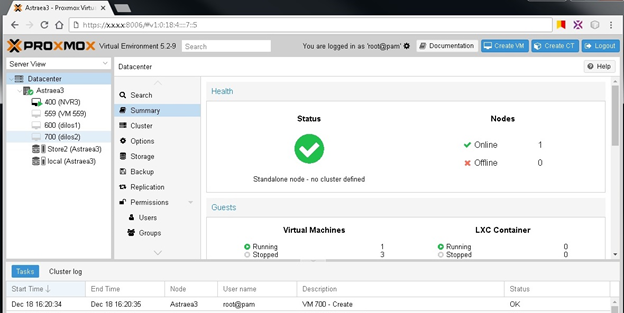
We have some Proxmox nodes for virtual (guest) machines. Now I want to create one and install DilOS. This is web interface of our Proxmox node Astraea3:
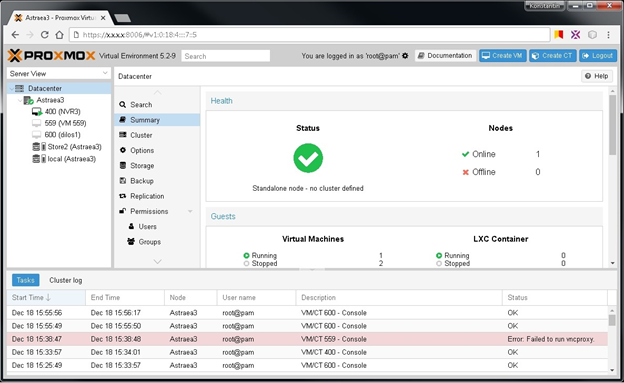
On this picture, we see that three virtual machines already created and all of them has unique number and (name). In addition, we see two disk storages: «local» and «Store2», and that only one node we have – no cluster defined.
First step – virtual machine creation:
Press button  to start create VM (popup window appears):
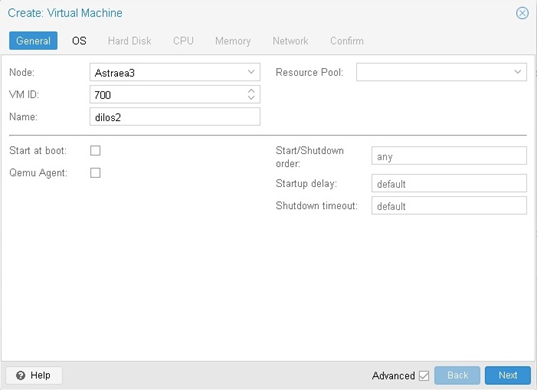
This is first «General» step of seven steps for creation VM. Now we have to assign VM ID and VM Name. My choice is VM ID = 700 and NAME = “dilos2”. Then press NEXT.
Second step «OS»:
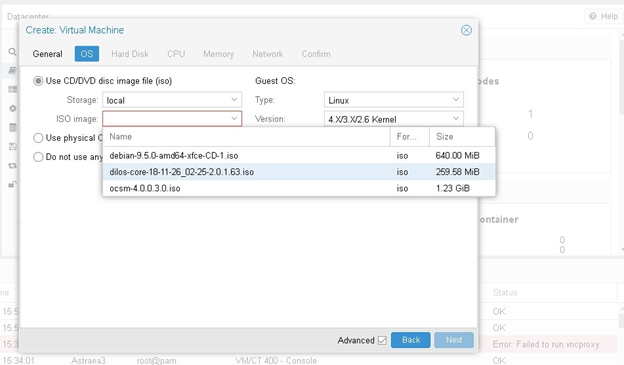
We have to select Storage for our VM. In our case, we have only one storage suitable for VM this is storage «local». Type for Guest OS we select Linux and Version 4.X/3.X/2.6 Kernel. ISO Images previously need to upload on the node and then select from drop box: we select dilos-core-18-11-26_02-25-2.0.1.63.iso If information not selected correctly Next button will stay inactive. Button NEXT active? Just press it.
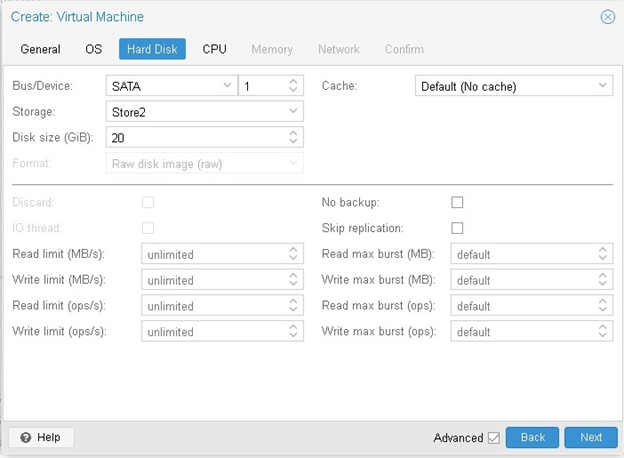
Third step «Hard Disk»:
Bus/Device (IDE, SATA, VirtIO Block, SCSI): I’ve select SATA (VirtIO Block also suitable for DilOS).
Storage (local or Store2): Store2.
Disk size (GiB): 20 (this is enough for our test purpose).
Cache: Default (No cache). We need not cache.
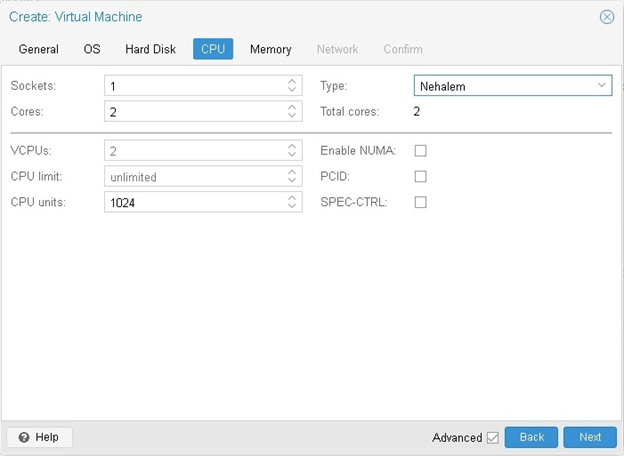
Fourth step «CPU»:
Sockets: 1
Cores: 2
Type: Nehalem
it depends on your Proxmox machine configuration and your preferences.
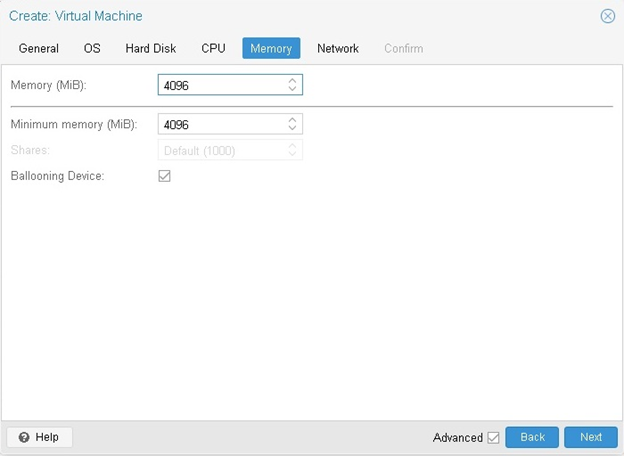
Fifth step «Memory»:
Memory (MiB): 4096
it depends on your Proxmox machine configuration and your preferences.
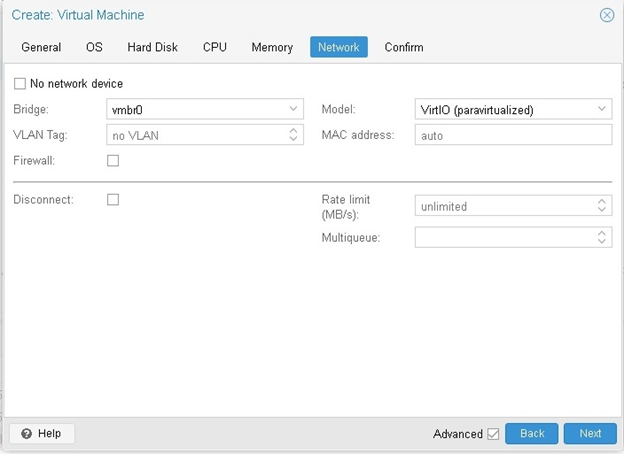
Sixth step «Network»:
If you need not network – just mark «No network device» field.
Bridge (bridges) previously mast be created on Proxmox (main) machine and on this step you can only select from some.
My choice is:
Bridge: vmbr0
Model: VirtIO (paravirtualized). All models: VirtIO, Intel E1000, Realtek RTL8139, VMWare vmxnet3.
VLAN Tag: no VLAN. I have not.
In other fields I just stay default values.
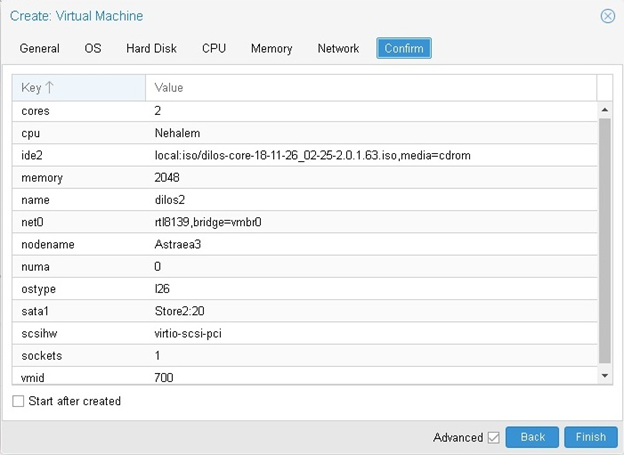
Seventh step «Confirm»:
This table consists all information about our VM. This last step and last chance to rollback to previous steps. All information correct? Push the button FINISH.
And now we have created Virtual Machine #700 (dilos2):
Select «VM 700» in the menu tree and in submenu select >_Console. Than click the right mouse button on «VM 700» in the menu tree – appears menu:
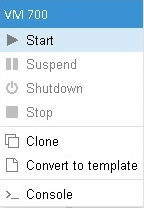
Click on Start.
Started boot process. When boot stopped:

As wrote above type: root, password 123.
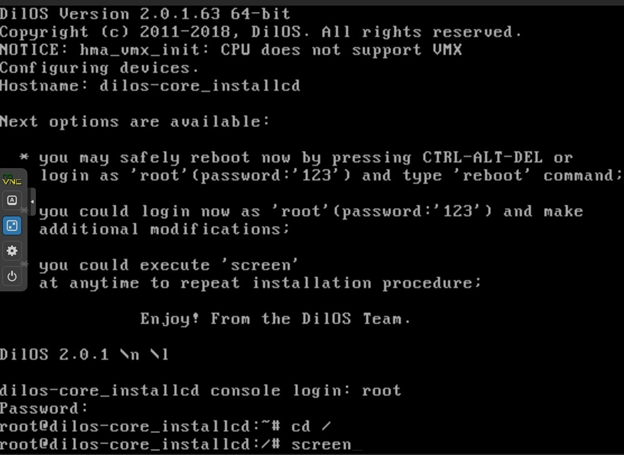
Type: screen.
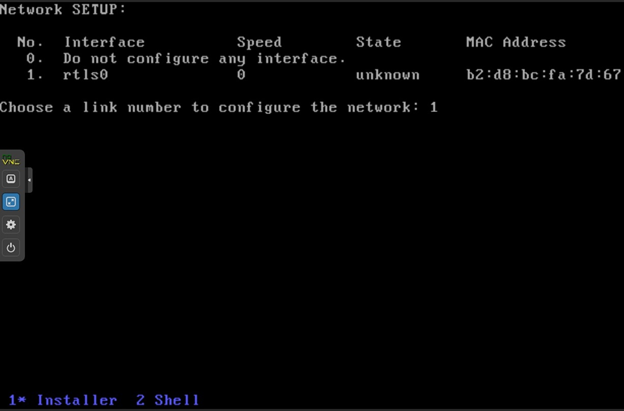
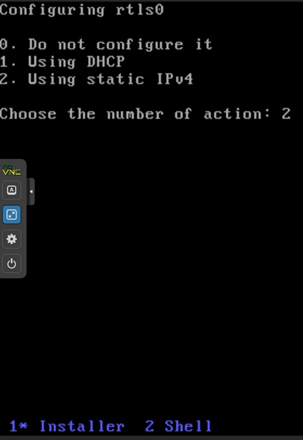
Start installation process and installation configuration:
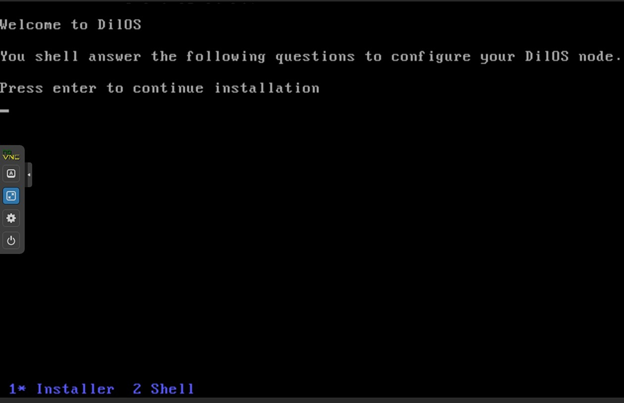
Now follow questions and step by step configure DilOS:
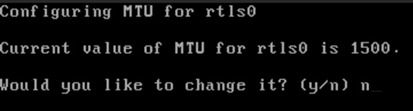
Value of MTU I leave without changes.
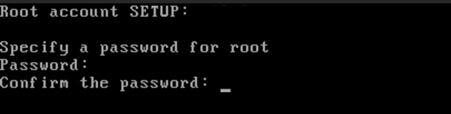
Usual installation process: root account setup (root password), user account setup (user name and password), Nodename setup (nodename = DilOS2), rpool setup.
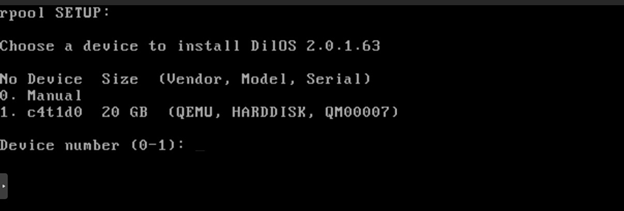
rpool setup screen:
And, finish of installation:
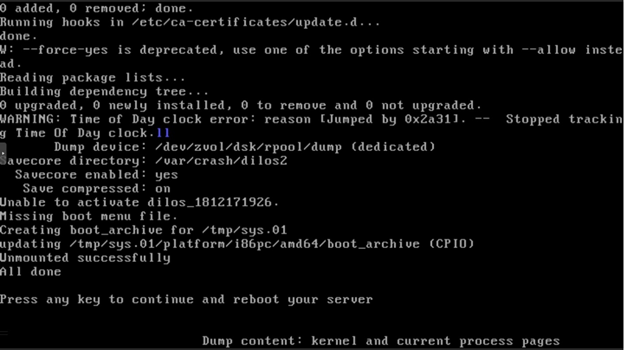
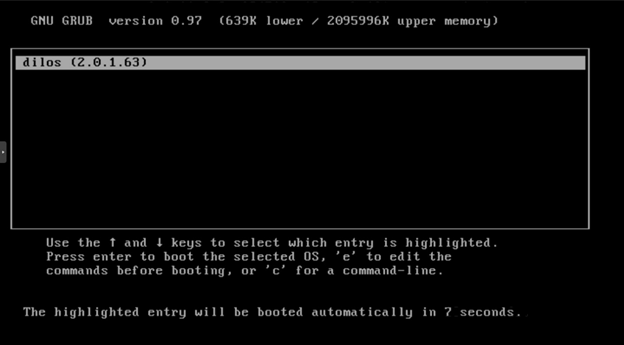
Reboot…
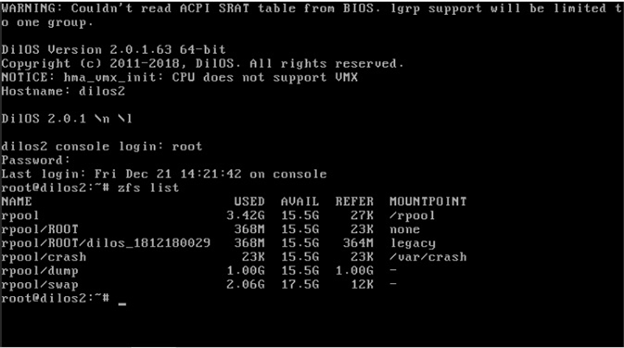
DilOS installed. We have some warnings: CPU does not support VMX and from BIOS couldn’t read ACPI, but these are not serious problem ![]()